This was brought in with a frayed cord towards the USB 2.0 type-A connector. One of the wires was completely torn away from the rest of the connector and the cable was very thin and frail.
I didn’t want to just splice the damaged cable and take the risk, so I set out to find a complete replacement cable.
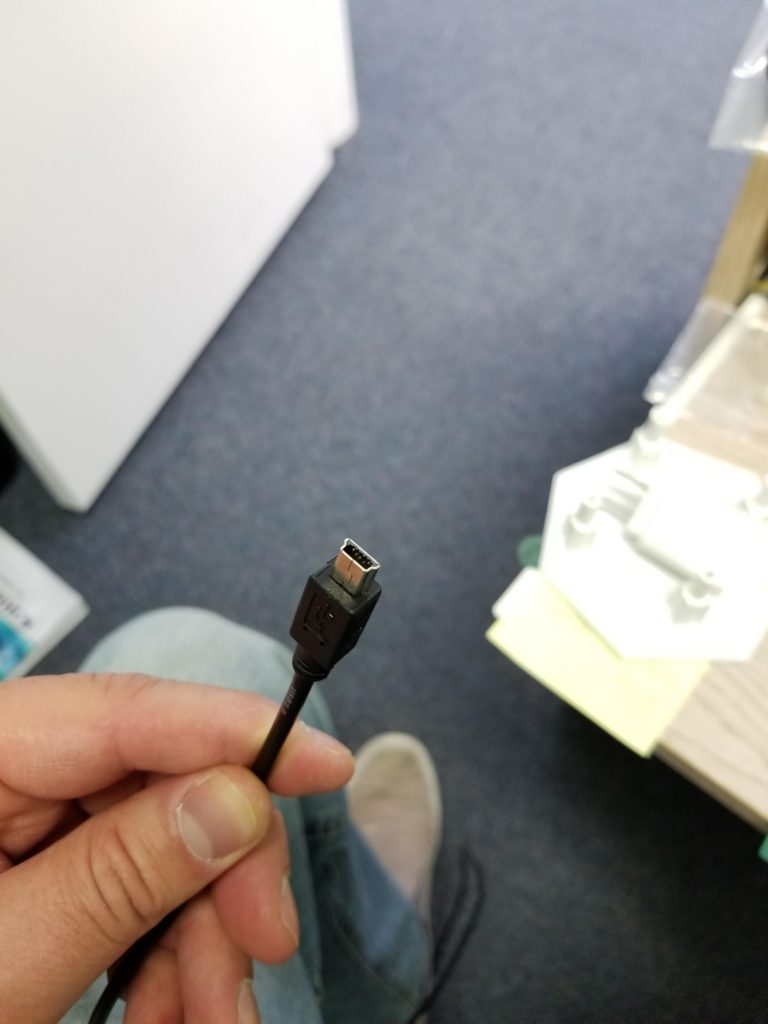
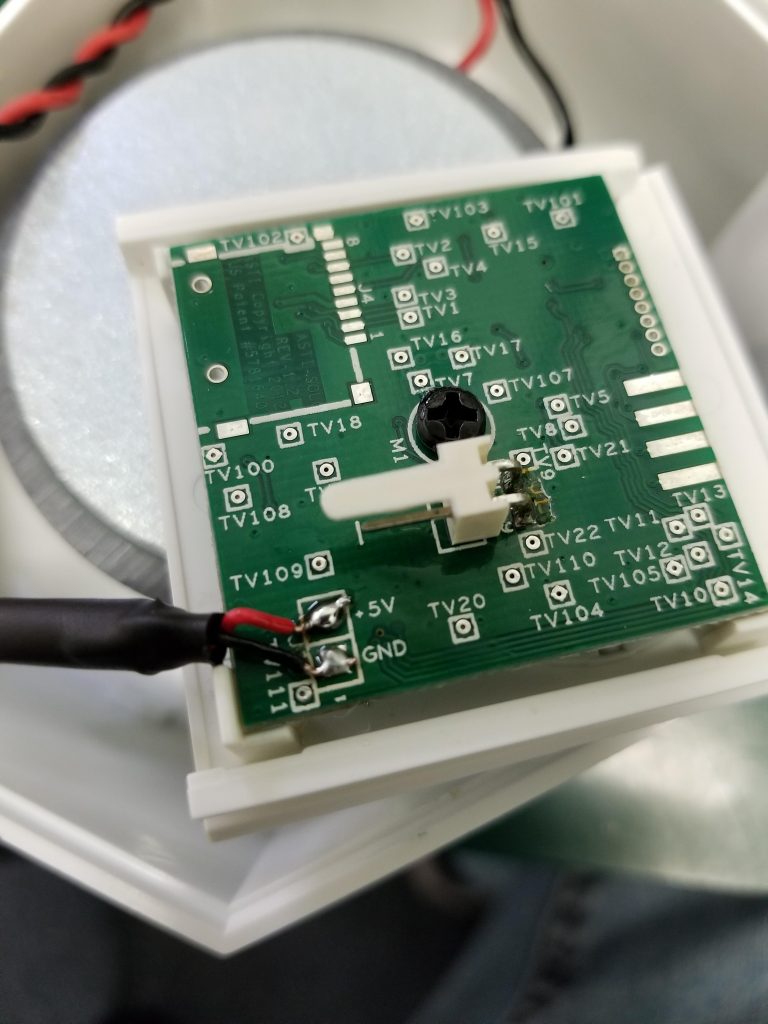
The connector plugged into a 5 volt .5 Amp wall plug for a USB type A connector. The only pins used on the usb connector were the +5 Volts and ground. Nice design for something as usb type A wall plugs are very common and the common and cheaper barrel chargers are harder to match up and find.
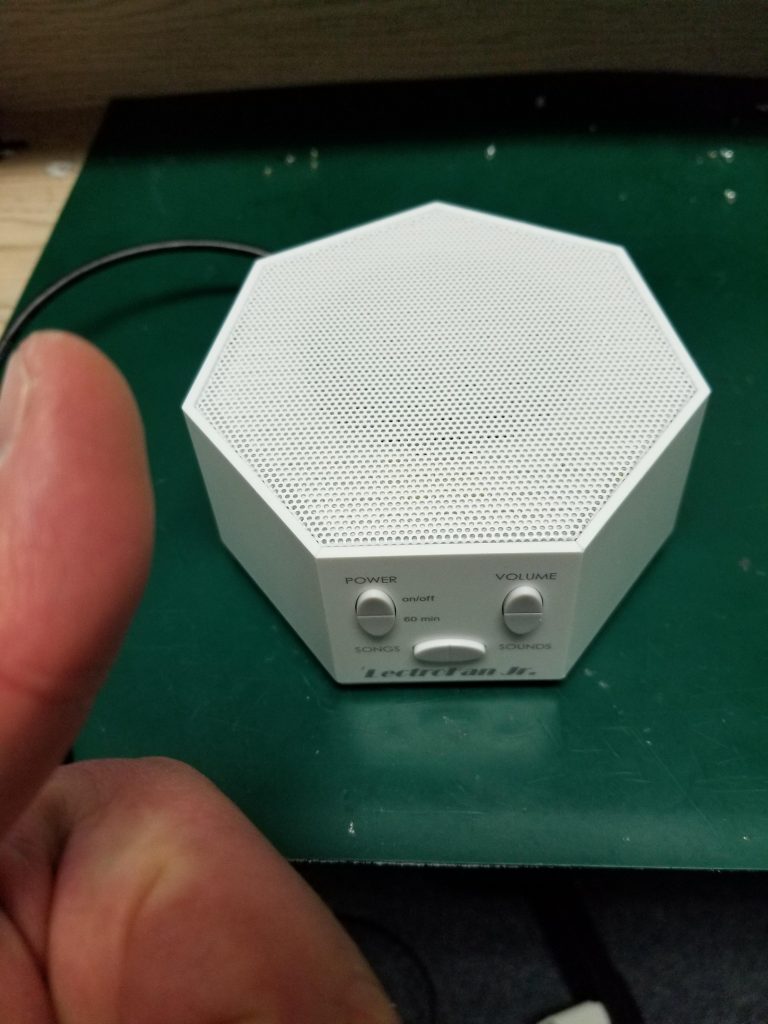
Lectrofan are a premium brand of white noise/sound machine. Most of the sounds are most likely a modulated version of a single audio file. There’s a few different settings, including playing nursery xylophone sounding music. The white noise feature sounds very much like rain or static from a tv and you can switch sounds that adjust the pitch and tempo of the white noise.
The original cable was about 6 feet in length and the customer’s concern was with length. I decided to use a brand new mini-USB 2.0 cable from the accessory wall.
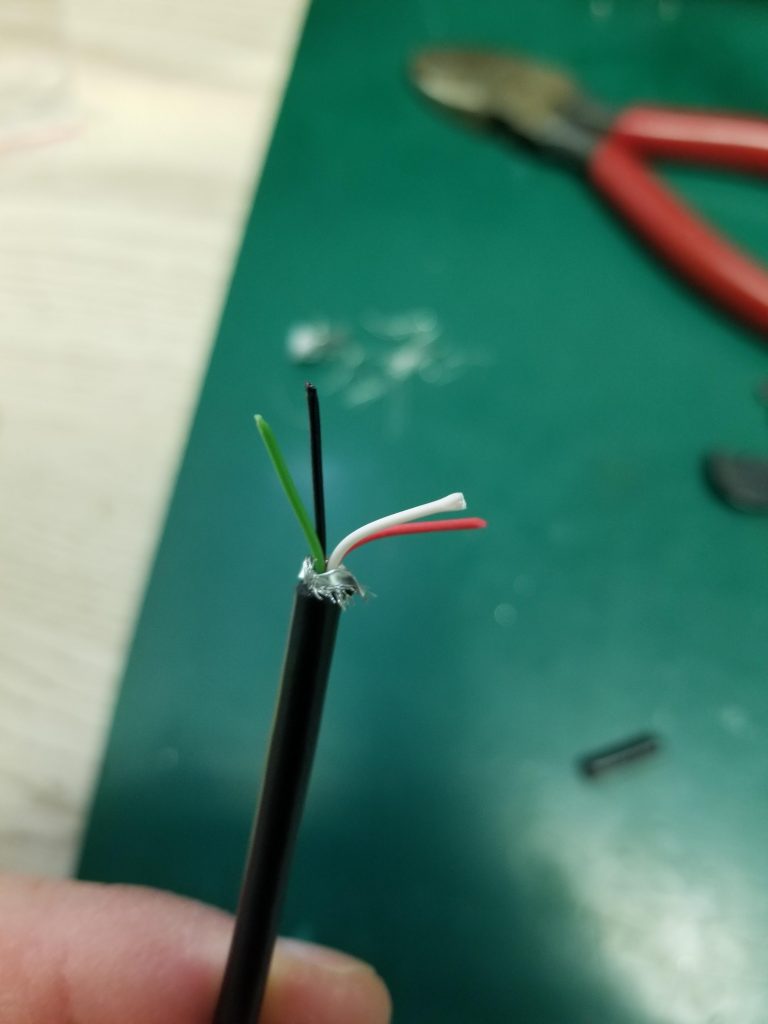
I was a bit surprised to find this cable had EMF shielding and quite a thick plastic shell. Nipping the head off the cable revealed four color coded wires. Red and black for positive and negative, respectively, and green and white for data.
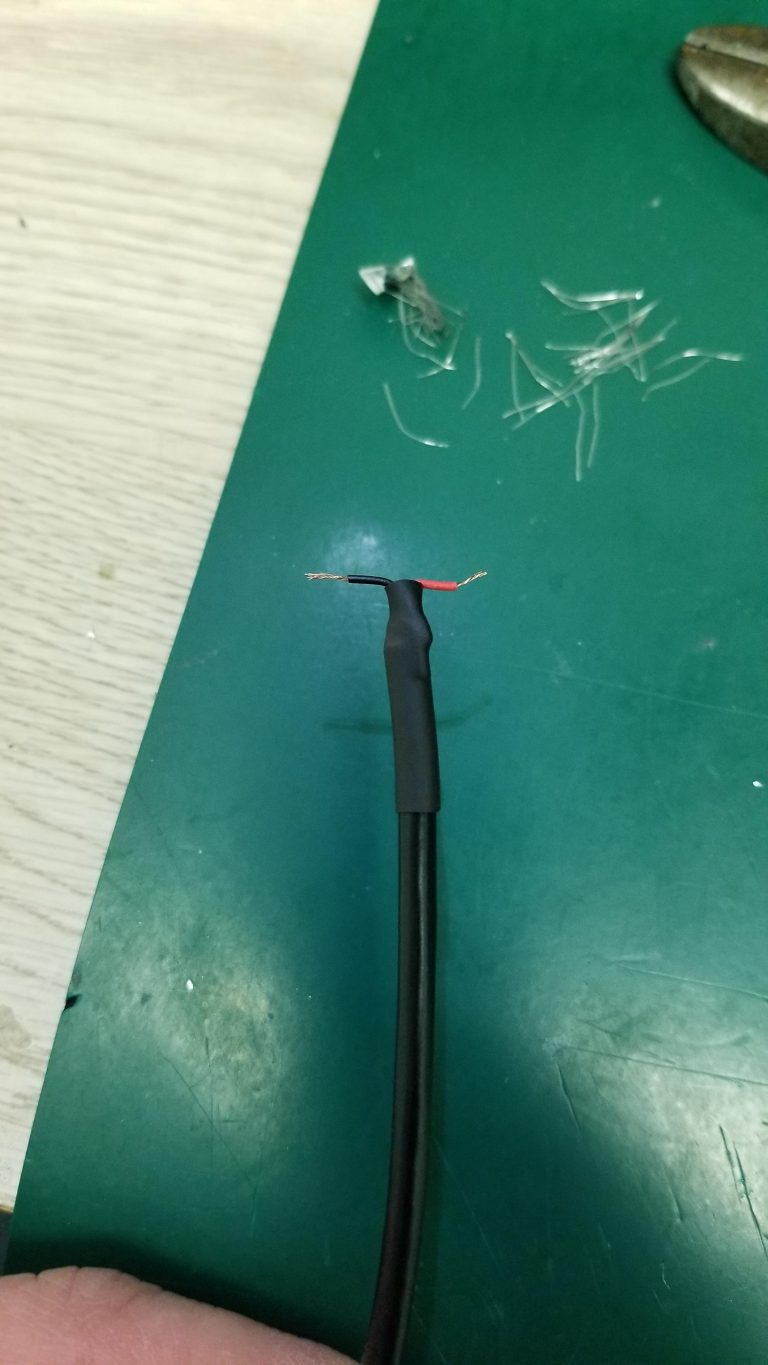
I cut the green and white wires at different lengths and folded them to the side. I polished the whole head off with a bit of heat-shrink tubing–leaving only the stripped positive and ground wires accessible.
A quick test by plugging into the wall with the included wall charging brick and checking with a multimeter read a little over 5 volts on the exposed ends.
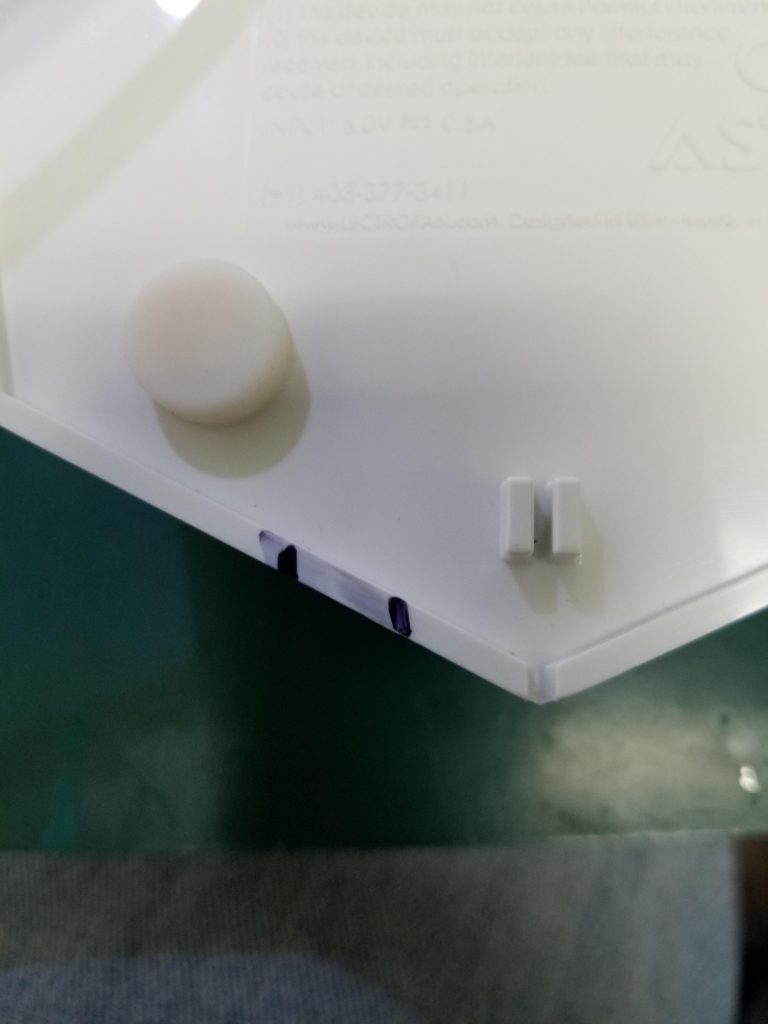
The new cable was quite thick so the housing needed a little dremel work in order for the cable to lie flat while the device sat on a flat surface. I ended up boring out the hole that the cable fed through the housing (which was located in the front.)[Not pictured] As well as dremeling down a space in the back for the cable to fit as well.
A little solder work to the +5 Volts positive and ground wires to the pcb. The leads were a little long but that’s ok. I covered the pads with hot glue to isolate them and to provide a little extra strength if they’re pulled.
Some quick reassembly with four screws and four rubber feet. Not pictured, is a strip of electrical tape that I ran across the cord/cable on the bottom to hold it in place better. I reinforced it by running it long enough where it laid over the back rubber feet holes, in which I pushed the rubber feet against and it secured parts of the tape into.
For a final test I ran the white noise setting for a few hours. It was as relaxing as you would imagine it to be.